Sine wave
February 4, 2023
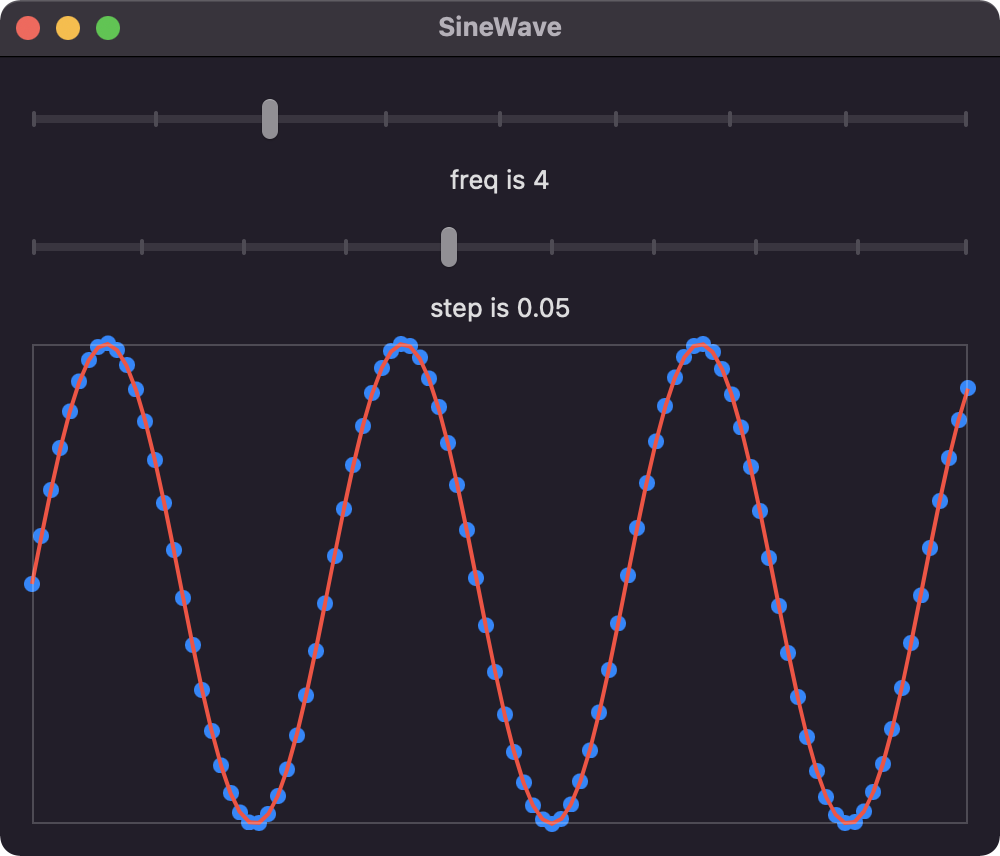
To draw a sine wave, create a shape that draws a line using x and y values. The values must be converted to the proper points within the view's frame. Markers represent points on the drawn line.
import SwiftUI

struct MarkersView: View {

    let xValues: [Double]
    let yValues: [Double]

    var body: some View {
        GeometryReader { geom in
            let xMin = xValues.min() ?? 0.0
            let xMax = xValues.max() ?? 1.0

            let yMin = yValues.min() ?? 0.0
            let yMax = yValues.max() ?? 1.0

            ForEach(0..<yValues.count, id: \.self) { i in
                Circle()
                    .fill(.blue)
                    .frame(width: 8)
                    .position(
                        x: ((xValues[i] - xMin) * (geom.size.width)) / (xMax - xMin),
                        y: geom.size.height - ((yValues[i] - yMin) * (geom.size.height)) / (yMax - yMin)
                    )
            }
        }
    }
}

struct LineShape: Shape {

    let xValues: [Double]
    let yValues: [Double]

    func path(in rect: CGRect) -> Path {

        let xMin = xValues.min() ?? 0.0
        let xMax = xValues.max() ?? 1.0

        let yMin = yValues.min() ?? 0.0
        let yMax = yValues.max() ?? 1.0

        // Scale values to CGPoints based on formula at https://en.wikipedia.org/wiki/Normalization_(statistics)
        // X' = a + (X - Xmin)(b - a) / (Xmax - Xmin)
        let pts = zip(xValues, yValues).map { (x: Double, y: Double) -> CGPoint in
            let xn = ((x - xMin) * (rect.width)) / (xMax - xMin)
            let yn = rect.height - ((y - yMin) * (rect.height)) / (yMax - yMin)
            return CGPoint(x: xn, y: yn)
        }

        var path = Path()
        path.move(to: pts[0])

        for i in 1..<pts.count {
            path.addLine(to: pts[i])
        }

        return path
    }
}

struct SineView: View {

    @ObservedObject var data: Data

    var body: some View {
        ZStack {
            MarkersView(xValues: data.x, yValues: data.y)

            LineShape(xValues: data.x, yValues: data.y)
                .stroke(.red, lineWidth: 2.0)
                .border(.white.opacity(0.2))
        }
    }
}
The sine wave view is updated by adjusting the frequency and step values.
import SwiftUI

class Data: ObservableObject {

    @Published var freq: Double = 4
    @Published var step: Double = 0.05

    var x: [Double] {
        Array(stride(from: 0, to: 5, by: step))
    }

    var y: [Double] {
        x.map { sin(freq * $0) }
    }
}

struct ContentView: View {

    @StateObject private var data = Data()

    var body: some View {
        VStack {
            Slider(value: $data.freq, in: 2...10, step: 1.0)
            Text("freq is \(data.freq, specifier: "%.0f")")

            Slider(value: $data.step, in: 0.01...0.1, step: 0.01)
            Text("step is \(data.step, specifier: "%.2f")")

            SineView(data: data)
        }
        .padding()
        .frame(minWidth: 500, minHeight: 400)
    }
}
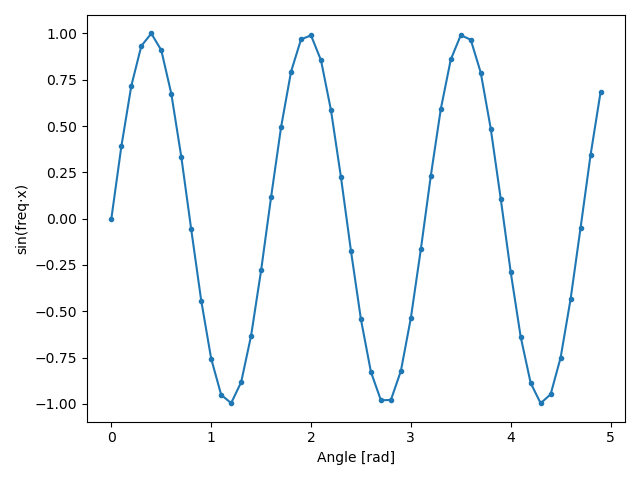
The Python example below provides a comparison to the Swift version. The Matplotlib Python package is used to create the plot.
import numpy as np
import matplotlib.pyplot as plt

freq = 4
step = 0.1

x = np.arange(0, 5, step)
y = np.sin(freq * x)

_, ax = plt.subplots(tight_layout=True)
ax.plot(x, y, marker='.')
ax.set_xlabel('Angle [rad]')
ax.set_ylabel('sin(freq⋅x)')

plt.show()
Swift Programming for macOS © 2025
Built with Genja by Gavin Wiggins