Two Column NavigationSplitView with SwiftUI
Published on November 30, 2022
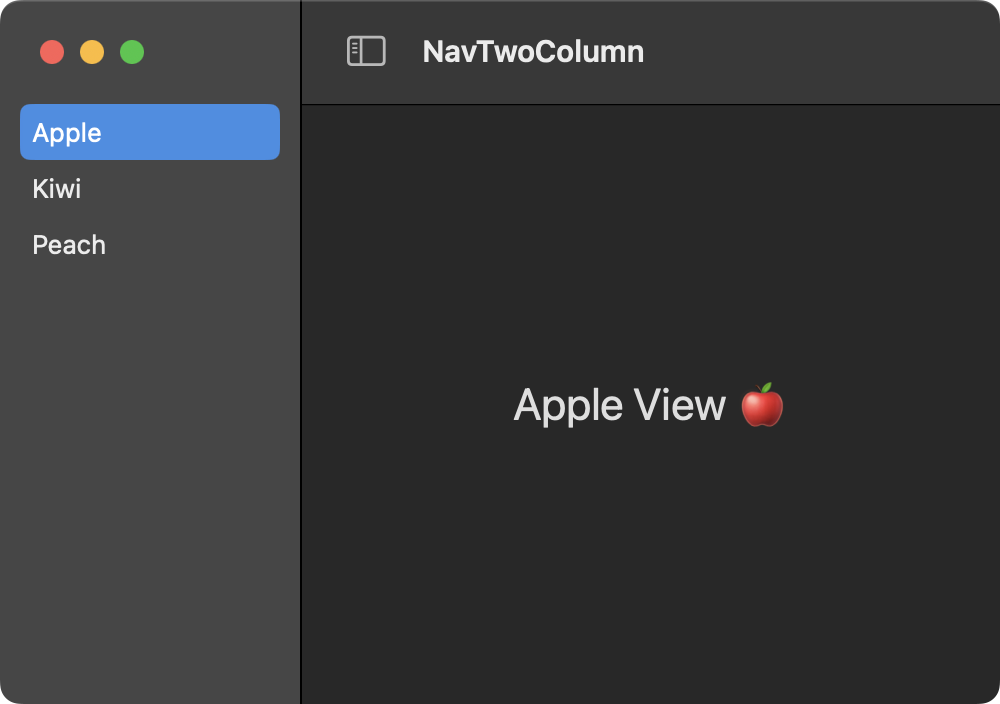
A two column NavigationSplitView creates a sidebar with a list of items and a detail view. In the example shown below, selecting an item in the sidebar will change the contents of the detail view. Notice the SidebarCommands() enables Hide Sidebar and Show Sidebar items in the View menu.

import SwiftUI

@main
struct TwoColNavSplitApp: App {
    var body: some Scene {
        WindowGroup {
            ContentView()
        }
        .commands {
            SidebarCommands()
        }
    }
}
import SwiftUI

struct AppleView: View {
    var body: some View {
        Text("Apple View 🍎").font(.title)
    }
}

struct KiwiView: View {
    var body: some View {
        Text("Kiwi View 🥝").font(.title)
    }
}

struct PeachView: View {
    var body: some View {
        Text("Peach View 🍑").font(.title)
    }
}

enum Fruit: String, CaseIterable {
    case apple = "Apple"
    case kiwi = "Kiwi"
    case peach = "Peach"
}

struct DetailView: View {

    @Binding var selectedItem: Fruit

    var body: some View {
        switch selectedItem {
        case .apple:
            AppleView()
        case .kiwi:
            KiwiView()
        case .peach:
            PeachView()
        }
    }
}

struct ContentView: View {

    @State private var selectedFruit: Fruit = .apple

    var body: some View {
        NavigationSplitView {
            List(Fruit.allCases, id: \.self, selection: $selectedFruit) { fruit in
                Text(fruit.rawValue)
            }
        } detail: {
            DetailView(selectedItem: $selectedFruit)
        }
        .frame(minWidth: 500, minHeight: 300)
    }
}
Store selected sidebar item
Use the AppStorage property wrapper to store the selected item in user defaults. The last selected item will be selected again when the app is relaunched.
struct ContentView: View {

    @AppStorage("selectedFruit") private var selectedFruit: Fruit = .apple

    var body: some View {
        NavigationSplitView {
            List(Fruit.allCases, id: \.self, selection: $selectedFruit) { fruit in
                Text(fruit.rawValue)
            }
        } detail: {
            DetailView(selectedItem: $selectedFruit)
        }
        .frame(minWidth: 500, minHeight: 300)
    }
}
Set sidebar width
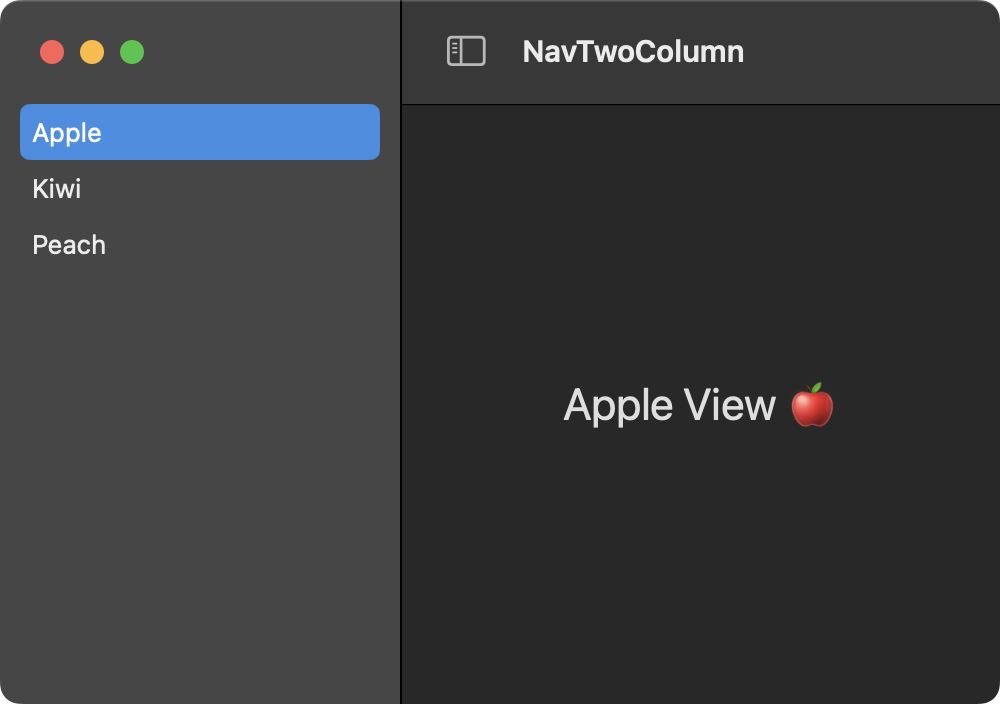
Set a fixed width for the sidebar column using the navigationSplitViewColumnWidth modifier function.

struct ContentView: View {

    @State private var selectedFruit: Fruit = .apple

    var body: some View {
        NavigationSplitView {
            List(Fruit.allCases, id: \.self, selection: $selectedFruit) { fruit in
                Text(fruit.rawValue)
            }
            .navigationSplitViewColumnWidth(200)
        } detail: {
            DetailView(selectedItem: $selectedFruit)
        }
        .frame(minWidth: 500, minHeight: 300)
    }
}
Alternatively, set a flexible width for the sidebar column by providing min, ideal, and max parameters to the navigationSplitViewColumnWidth function.
struct ContentView: View {

    @State private var selectedFruit: Fruit = .apple

    var body: some View {
        NavigationSplitView {
            List(Fruit.allCases, id: \.self, selection: $selectedFruit) { fruit in
                Text(fruit.rawValue)
            }
            .navigationSplitViewColumnWidth(min: 150, ideal: 180, max: 200)
        } detail: {
            DetailView(selectedItem: $selectedFruit)
        }
        .frame(minWidth: 500, minHeight: 300)
    }
}
Fill detail view
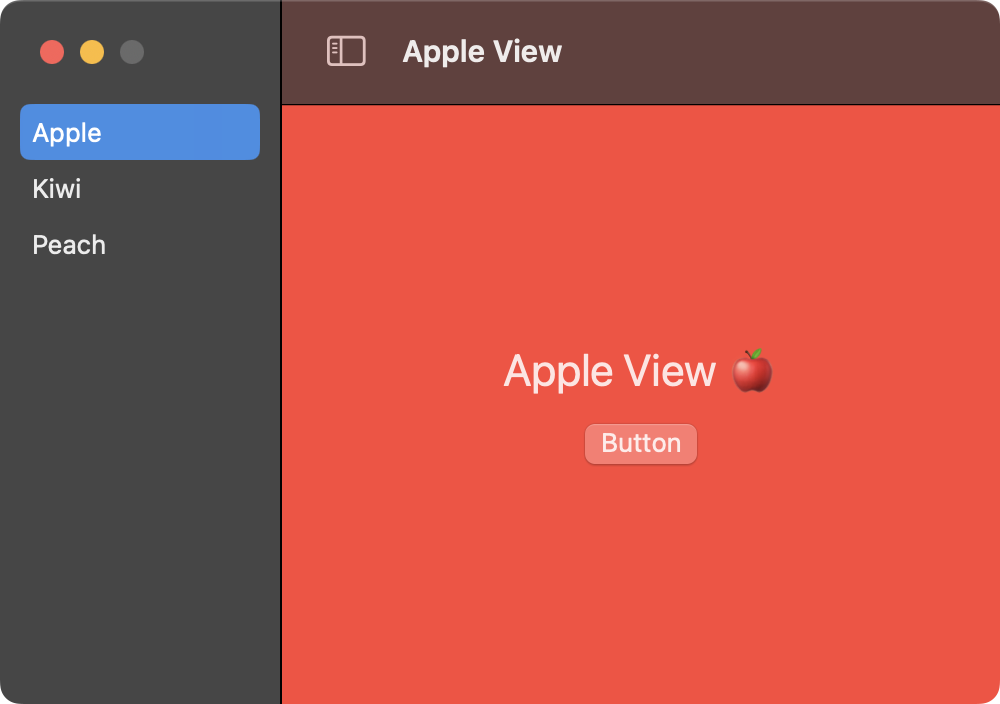
To fix the size of the window, set the resizability of the main window group as shown below. Next, to fill the entire detail view column, set the frame's max width and max height to infinity for each view. Use the navigationTitle to change the window title based on the selected view.

import SwiftUI

@main
struct NavTwoColumnFillApp: App {
    var body: some Scene {
        WindowGroup {
            ContentView()
        }
        .windowResizability(.contentSize)
    }
}
import SwiftUI

struct AppleView: View {
    var body: some View {
        VStack {
            Text("Apple View 🍎").font(.title)
            Button("Button") {}
        }
        .navigationTitle("Apple View")
        .frame(maxWidth: .infinity, maxHeight: .infinity)
        .background(.red)
    }
}

struct KiwiView: View {
    var body: some View {
        VStack {
            Text("Kiwi View").font(.title)
            Text("🥝").font(.title)
        }
        .navigationTitle("Kiwi View")
        .frame(maxWidth: .infinity, maxHeight: .infinity)
        .background(.green)
    }
}

struct PeachView: View {

    @State private var text = ""

    var body: some View {
        VStack {
            Text("Peach View 🍑").font(.title)
            TextField("Enter text", text: $text).frame(width: 100)
            Text("Entered text is:\n\(text)")
        }
        .navigationTitle("Peach View")
        .frame(maxWidth: .infinity, maxHeight: .infinity)
        .background(.orange)
    }
}

enum Fruit: String, CaseIterable {
    case apple = "Apple"
    case kiwi = "Kiwi"
    case peach = "Peach"
}

struct DetailView: View {

    @Binding var selectedItem: Fruit

    var body: some View {
        switch selectedItem {
        case .apple:
            AppleView()
        case .kiwi:
            KiwiView()
        case .peach:
            PeachView()
        }
    }
}

struct ContentView: View {

    @State private var selectedFruit: Fruit = .apple

    var body: some View {
        NavigationSplitView {
            List(Fruit.allCases, id: \.self, selection: $selectedFruit) { fruit in
                Text(fruit.rawValue)
            }
        } detail: {
            DetailView(selectedItem: $selectedFruit)
        }
        .frame(width: 500, height: 300)
    }
}
Gavin Wiggins © 2026
Made on a Mac with Genja. Hosted on GitHub Pages.